Introduction
The finals of GP Houston have concluded, and in a field dominated by Defense Factions and Ut’ulls’ incursions following the release of P16, the winning LRIG was… Hirana? Yes, really. Despite a metagame teeming with walls and resource denial, Dusel navigated Hirana to a 6th-place finish in the Swiss rounds and ultimately clinched the championship title.
So, how did a seemingly aggressive, straightforward Red LRIG rise above a sea of Defense Factions? To answer that, we’ll break down the P16 metagame that opened the door for Hirana’s resurgence, explore the Unknown Memory, and unpack how opponents found themselves caught by the Crimson Heat Ray.
Matchups
Round 1: Defense Tamago (Win)
Round 2: Defense Tamago (Lose) [Starfruit]
Round 3: Defense Tamago (Win)
Round 4: Dissona Piruluk (Win)
Round 5: Muzica Blue Archive (Win)
Round 6: White Tawil (Win)
———————————————–
Top 8: Defense Lion (Win)
Top 4: War Carnival (Win)
Finals: Defense Lion (Win)
Decklist

Dusel’s 1st Place Deck from GP Houston 2025
LRIG Deck
1 Hirana, a Step Towards the Battle
1 Hirana, a Step Towards the Initiative
1 Hirana, a Step Towards the Slash
1 Hirana, a Step Towards the Check
1 Ex Zero
1 Ex Echo
1 Ex Crossfire
1 DJ LOVIT – Standby
1 DJ LOVIT – SCRATCHx2
1 DJ LOVIT – CROSSFADE
1 Crimson Heat Ray
1 Unknown Memory
Main Deck
Life Burst
4 Apex//Dissona, Crimson Angel Queen
2 SeekLove//Dissona, Crystal Brilliance
3 Emergence
2 Ano Uzu//Dissona, Crimson Angel
1 Broom//Dissona, Code: Anti
4 Pale Laby//Dissona, Code: Maze
4 Servant #
Non-Life Burst
3 LOVIT//Dissona, Phantom Beast Deity
1 Bang//Dissona, Jade Evil Queen
1 Halberd, Full Armed
1 Nobunaga, Crimson General Queen
4 Ivy//Dissona, Natural Plant
1 Aiyai//Dissona, Second Play
2 Ril//Dissona, Crimson General
4 Firecracker//Dissona, Small Cannon
3 Wawolf//Dissona, Phantom Terra Beast
Card Explanations
This list is directly sourced from ウルシハ’s Dissona Hirana build. No modifications have been made. While Dusel briefly considered running a fourth copy of Emergence, he ultimately chose to run the list as-is.
Normally, I’d go card by card, but it’s been over a year since Dissona dropped in English, and even longer in Japan. If you’ve been playing this game for a while, you already know what these cards do. Rather than reviewing each card individually, this breakdown will categorize cards by function within the deck.
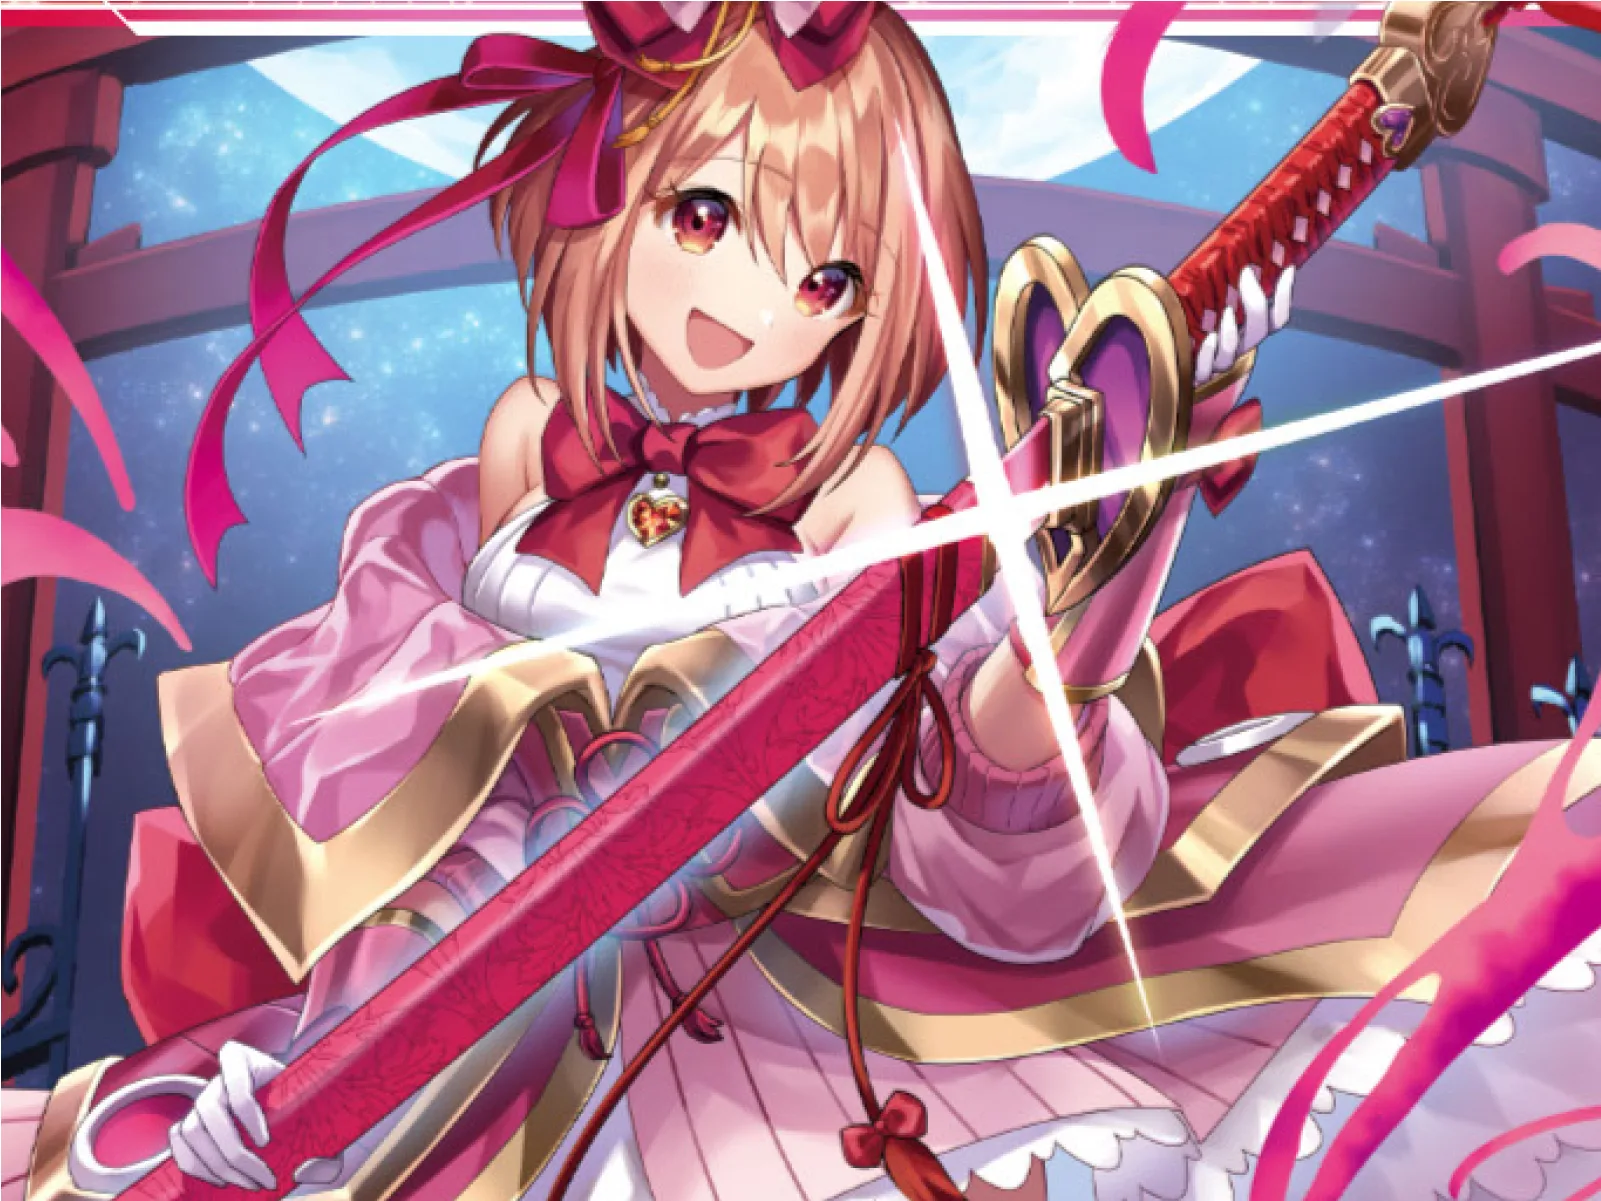
Hirana, a Step Towards the Check
Choosing Dissona Hirana over the original Hirana and the Liberator package is a direct response to the evolving metagame. The old plan—using Flathro and a +1 LRIG damage finisher—has been outpaced by Servant recursion and increasingly efficient defensive Assists.
Dissona Hirana solves this by applying consistent pressure through Dissona SIGNIs. Her Once Per Turn vanish ability opens lanes reliably from level 3 onward. Her Once Per Game effect often renders opponent defenses ineffective. In essence, Dissona Hirana sacrifices linear burst damage for repeatable lane access and an uncounterable finisher.
Ex Echo & Ex Crossfire
Ex Echo is the most consistent red draw Assist currently available. It reliably provides three cards at the cost of one Red card, helping maintain card advantage.
Ex Crossfire removes a SIGNI and chips away at your opponent’s ener, which is critical when preparing for a decisive turn with Hirana’s Once Per Game. In particular, denying ener can shut down assists like Mel Invisible and make it difficult for opponents to defend.
DJ LOVIT – SCRATCHx2 and DJ LOVIT – CROSSFADE
DJ LOVIT – SCRATCHx2 is resource-intensive, but its payoff is high. When played early, it reliably lands a Double Crush, as most decks are not yet developed enough to prevent it. If you open three lanes and resolve SCRATCHx2 while going first, you can often reduce your opponent to 4 Life Cloth by turn 2 or 3, putting them in kill range without overcommitting.
DJ LOVIT – CROSSFADE vanishes a SIGNI and crushes a Life Cloth, inching the opponent closer to 0 while clearing a lane for further damage.
Crimson Heat Ray
Crimson Heat Ray is direct damage. Two ener to trash one Life Cloth. When paired with DJ LOVIT – CROSSFADE, you compress your opponent’s survivability significantly. Instead of starting at seven, they’re functionally at five.
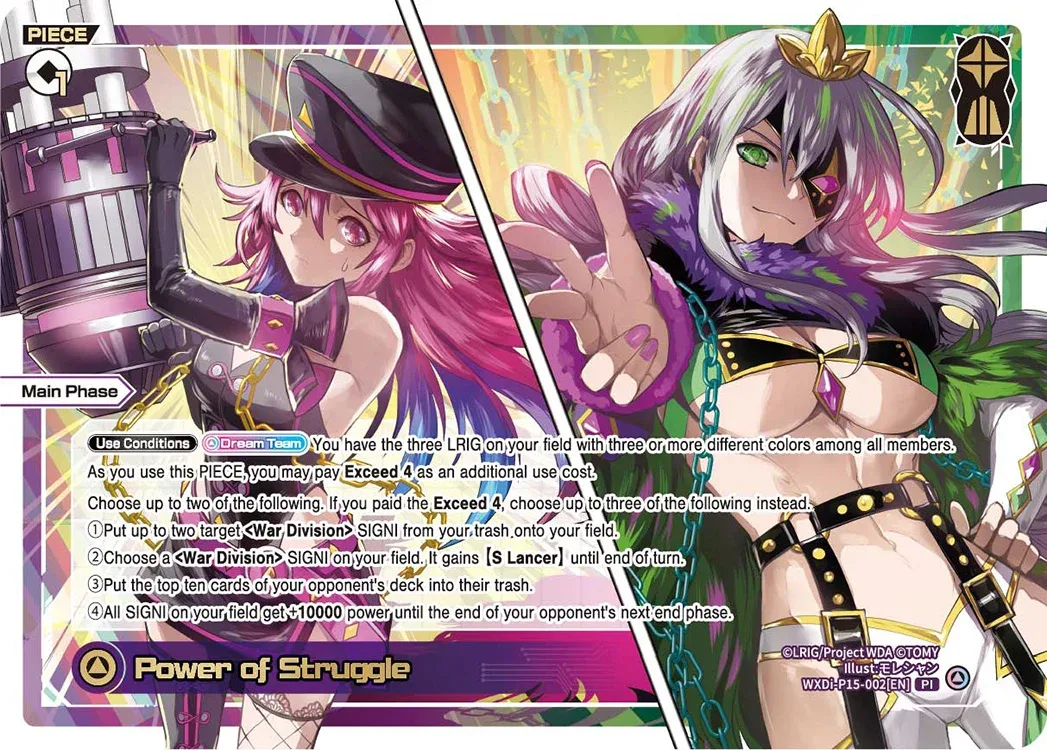
Unknown Memory
Unknown Memory is a flexible Piece. The preferred mode is draw two, ener two—providing 4 resources. But in cases where you need to guarantee open lanes, its vanish option comes into play. It does whatever the situation demands.
Apex, LOVIT//Dissona, and Bang//Dissona
These are the deck’s major offensive tools at Level 3:
Apex’s Assassin allows her to bypass what is in front of her. LOVIT//Dissona picks off SIGNIs and snipes away the colors needed for your opponent’s Assists. Bang//Dissona is a targeted answer to LOVIT//THE DOOR and other resilient SIGNIs.
SeekLove and Pale Laby
Outside of Ex Echo and Unknown Memory, this deck doesn’t generate many resources. It relies heavily on burst effects to maintain tempo.
SeekLove and Pale Laby function as crucial draw bursts. Triggering one or two across a game is often enough to reload your hand and continue applying pressure without losing momentum.
Ano Uzu and Pale Laby
These two are your utility SIGNIs. Against high-power level 1s like Muzica//THE DOOR and Sanga//THE DOOR, you will need a two-card combination to open the lane, one damage dealer and utility SIGNI. Pair Pale Laby with Firecracker or Wawolf, or Ano Uzu with Wawolf to push for the extra damage.
Ivy
Ivy keeps your ener flowing, which is absolutely vital in a format where resource denial is everywhere. She generates ener while maintaining board presence and fueling expensive plays like the LOVIT assists and Crimson Heat Ray.
Firecracker, Wawolf, and Ril//Dissona
These are your early-game threats. Firecracker and Wawolf don’t need much explanation. They both open a lane for low cost.
Now, about Ril//Dissona—why not Layla//Dissona from P16? Layla//Dissona is more ener efficient, right? On the contrary, you always want to prioritize Ivy, and Ril//Dissona plays nicer with double Ivy at level 2. You can squeeze under the 5 limit and still threaten damage.
Broom
You use it on your final turn to find a LOVIT//Dissona or Bang//Dissona. Occasionally, it gives you an extra card for an extra ener burn with Hirana’s Once Per Game.
Aiyai//Dissona, Halberd, and Nobunaga
The deck contained a small package of 1 Halberd, Nobunaga, and Aiyai//Dissona. Nobunaga for Double Crush. Halberd to break through the last Life Cloth against the target assists.
Aiyai//Dissona picks up non-Dissona SIGNIs— even Servants. As a result, Aiyai//Dissona can act as a bridge to let your Emergence recover important non-Dissona. Use Emergence to grab Aiyai//Dissona from your ener, play her to grab Nobunaga, Halberd, or Servant.
Emergence
Converts into extra ener, or you grab exactly what you need—Aiyai, LOVIT, whatever solves the turn. Sometimes you just burst it, slam down a Firecracker, and get there.
Basic Gameplay Patterns
This gameplay pattern describes the average outcome of the deck. The amount of Life Burst and Servants that your opponent has will be a factor, so adjust your game plan accordingly.
Going First
Level 1 (Turn 1):
Grow Ex Echo to draw 3 cards and play two level 1 SIGNIs. Since you are not doing any damage this turn, you will need to sacrifice some of your utility SIGNIs as bodies on the field and make an educated guess on which ones to keep.
Level 2 (Turn 2):
Because you are going first, your LRIG deck is better. On level 2, you get to present a board threatening three lanes with Double Crush from DJ LOVIT – SCRATCHx2. That is less likely to get blown out and has its instant win blowout potential. With this, you will almost always crush 3 Life Cloths, meaning you are less likely to need to take risks due to falling behind.
Without the Double Crush, you would, on average, only be dealing 2 damage on your first turn of damage, which turns into an uphill battle. Furthermore, going first gives you the ability to represent Ex Crossfire immediately.
Level 3 (Turn 3):
On average, your opponent would have 4 Life Cloth left. Proceed to open 3 lanes again and force out your opponent’s Assists.
Level 3 (Turn 4):
Use DJ LOVIT – CROSSFADE and Crimson Heat Ray to remove two more Life Cloths. This will be your last turn, so plan out your attacks accordingly. Use Nobunaga for the Double Crush, Halberd to crush any last remaining Life Cloth, or open 3 more lanes. Fire off your Once-Per-Game, and victory will be in your grasp if all goes to plan.
Going Second
Level 1 (Turn 1):
Going second, your main deck is better. You can use your entire opening hand offensively from your first turn, so you can better use your utility SIGNIs like Ano Uzu and Pale Laby.
Grow DJ LOVIT – SCRATCHx2 to give Double Crush to the SIGNI in the open lane and open a 2nd lane. Swing the Double Crush SIGNI first and score at least two damage.
Level 2 (Turn 2):
Proceed to open three lanes. Your opponent will be inclined to grow their Assists to mitigate some of the damage.
Level 3 (Turn 3):
This is most likely your final turn. Use DJ LOVIT – CROSSFADE and Crimson Heat Ray to remove two more Life Cloths. As mentioned previously, plan out your attacks accordingly. Fire off your Once-Per-Game and proceed to the attack phase.
Matchups
Unlike decks where matchups are defined strictly by LRIG choice, Dissona Hirana’s matchups are better understood by analyzing two core variables: the opponent’s board strength and the number and type of defensive Assists they run.
To begin, much of the content in this section is based on the analysis originally presented by ウルシハ in his article. I strongly recommend reading the original piece, as the majority of the matchup theory discussed here is derived from his insights. Even for those who do not read Japanese, translation tools such as Google Translate make the article readily accessible. I do not claim credit for the strategic concepts presented in this section; rather, what follows is a translated and adapted version of ウルシハ’s matchup theory, with additional emphasis placed on key decision-making points.
Weak Boards and 4-Points of Defense
Decks like Black Umr and War Carnival apply early pressure with aggressive plays, quickly threatening your Life Cloth. However, they typically lack sustained pressure tools or disruption and often rely on fragile SIGNI lines to maintain momentum.
If your resources go undisturbed, you can reliably deploy three attackers each turn and progress toward Hirana’s Exceed finisher, making these matchups generally favorable. Still, your own board isn’t invincible—falling behind on tempo can put you in a tight spot before you stabilize.
Generally, hold off on using your Assists until your closing turn unless circumstances demand an earlier response. There’s usually no need to raise your LRIG’s Limit early. Just be cautious around defensive SIGNIs like Exia that can stall your offense. Use your Pieces carefully—ideally to finish with a clean final push.
Strong boards and 4-Points of Defense
White-focused decks like Tawil dominate this category, often boasting strong SIGNIs and reliable defensive tools. The timing of your offense matters more than usual here.
Suppose you’re on the draw and your opponent plays out two 8000-power SIGNIs on turn one. If you don’t have a reliable way to break through—such as a Piece or Assist—don’t rush to push damage. Many white builds pack powerful Life Bursts that punish reckless attacks, and your removal tools are limited and need to be preserved.
If you’re on the play and it’s your second turn, it’s often worthwhile to commit fully and open three lanes, even if that means using both an Assist and a Piece. The swing in tempo can be decisive.
Once your opponent has access to Assist-based defense—usually by your third turn, going first or second turn, going second—consider switching to a two-lane attack pattern. If their Assist setup includes a 1-stop and 3-stop combination (e.g., Akino and Lion), the outcomes are usually favorable for you:
- If they stop one attacker, you still land a safe point of damage, dodging Life Bursts.
- If they block two, you’ve drawn out their strongest defense for minimal damage prevention.
- If they let both attacks through, you pressure their Life Cloth while forcing them to react early, possibly with Exceed.
In all cases, the exchange tends to benefit you. If they run two 2-stop Assists instead, go wide—forcing them to commit resources across three lanes is harder to sustain.
You should generally save your Assists for your game-ending turn. That said, since you’re unlikely to generate natural ener before then, using Unknown Memory to charge ener before developing Assists is often correct.
3-Points of Defense or Less
This group includes Hirana mirrors and most Liberator archetypes. These decks usually trade defensive staying power for speed, turning games into races. If you allow them to reach a fourth turn, the game is likely over. That means you need to close by turn 4 when going first, or turn 3 when going second.
The biggest skill check here is knowing when to absorb damage. Early on, it’s usually better to take hits and conserve your key defensive tools, especially since Life Bursts are more impactful in the early stages.
If you’re going first, letting your opponent hit you on their turn 2 is usually fine—it conserves ener and cards for your future push.
When going second, turn 3 is critical. Deciding whether to block depends on:
- How much Life Cloth each player has left.
- The number of Servants or other defensive cards in hand.
- Whether you can guarantee a lethal swing on your upcoming turn.
If your opponent is low on Life Cloth and you’re confident you’ll survive until your third turn without blocking, taking damage to charge ener and grow both Assists can be correct.
However, if they have a healthy board state or Life Cloth, and you aren’t confident in closing out, you might need to hold back, only growing one Assist to retain a potential block on their fourth turn.
There’s no single right answer, and the best decision often depends on the flow of the match, but especially when going second, an all-in turn 3 can be a strong win condition.
Strong Boards and Resource Harassment, but Slow Attacks
These are typically Defense decks. While some include faster win options like Code Anti Madoka//THE DOOR or Over Pursuit, they usually play the long game. Their SIGNIs often gradually strip away your ener or hand, so every card you play must count.
When facing a 2-stop and 3-stop Assist combination, your default should be to apply steady 1-point pressure, except in specific early-game windows, like when you’re on the play turn 2. If your opponent establishes a Barrier, push an extra point to force them to choose: either lose Life or spend a key defensive card. Nobunaga often shines here.
Hold onto your Assists to answer major threats, especially things like Nova//THE DOOR. But if the game drags too long, their resource engine will likely overtake you. Try to end the game by turn 5 or 6 before that advantage becomes overwhelming.
Damage Immunity Assist + Ener Increase Piece
Decks such as Unrest Nanashi and Dissona Piruluk fall into this category. These decks use defensive Assists like Mel Invisible with ener-boosting Pieces like Zeno Cluster, creating a setup that makes it especially hard for Hirana to land a finishing blow with her Once Per Game ability.
While winning is difficult, there are still slim windows to close out the game, like dealing 4 damage by your second turn on the play, or reaching your fourth turn on the draw with enough tempo to push through.
Ex Crossfire plays a key role here, as it can eliminate your opponent’s Green ener and prevent them from activating Mel Invisible’s full effect. Including 1 or 2 copies of LOVIT//Dissona on the field can also further disrupt their ener setup, denying them access to the damage-immune Assist at a crucial moment.
LRIG Freeze
In certain matchups, it’s often correct to avoid attacking with your LRIG to play around LRIG freeze effects. Cards like Tamago, Fang Michaela, and Seminar can punish an aggressive LRIG attack by freezing it, denying you access to your Once Per Game ability on the following turn. By holding back your LRIG, especially when you expect a response or setup for freeze next turn, you can set up your Once Per Game for the game shot.
Conclusion
Despite the dominance of Defense decks in the P16 metagame, Dissona Hirana’s tools—consistent lane opening via SIGNIs, efficient damage compression through Pieces like Crimson Heat Ray and CROSSFADE, and targeted ener denial—allow her to exploit the weaknesses of the slow format.
Once again, congratulations to Dusel for his victory and piloting Hirana through the heavy Defense Faction metagame. Don’t forget to read his interview with Rewsula. If you have any other questions about the deck, please ask @Dusel_ on Twitter.